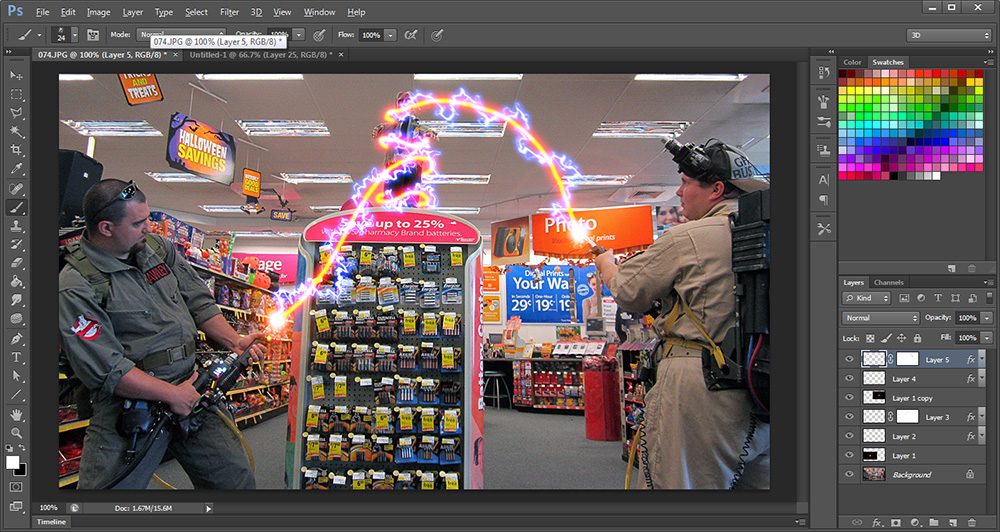
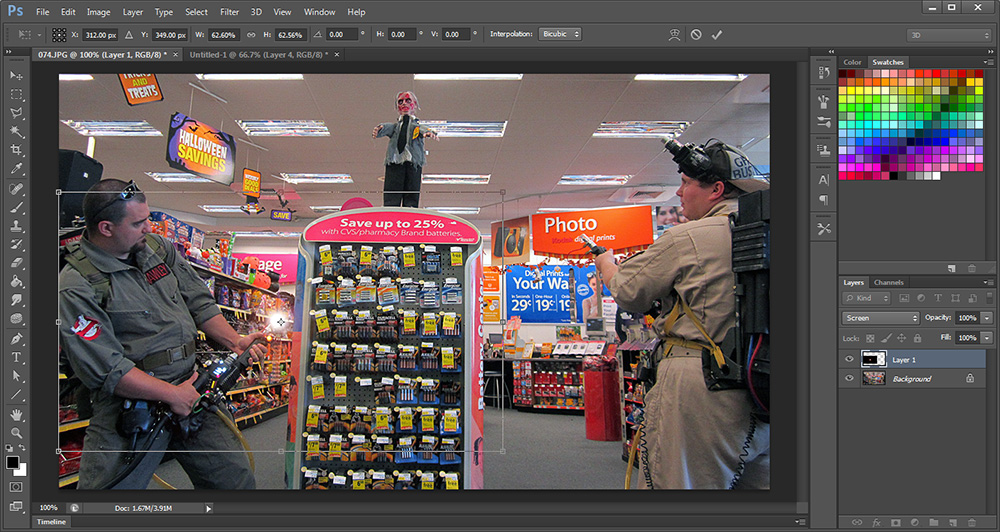
First we start with our picture of Ghostbusters in action, just begging for some special FX.
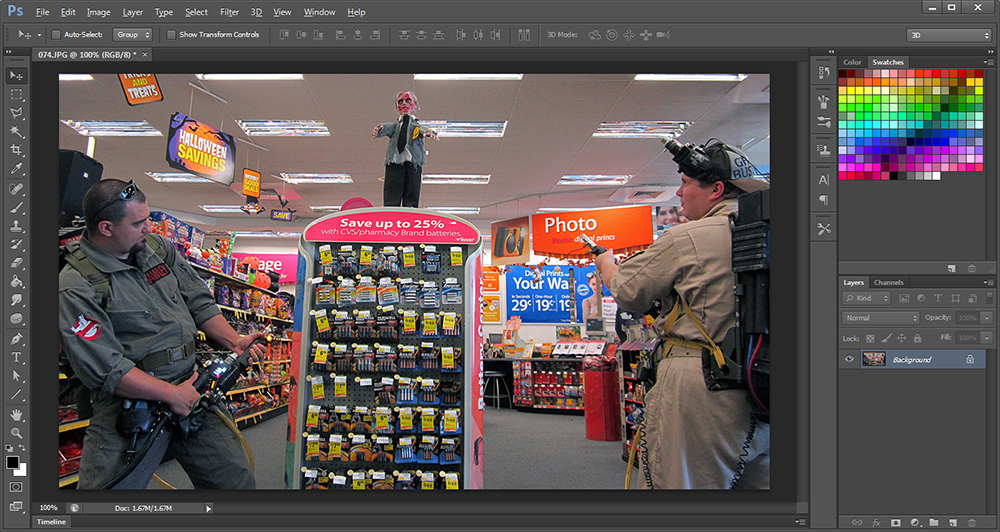
We'll start with the glow at the end of the proton gun so create a new layer and fill it with black (#000000) using the Paint Bucket Tool.
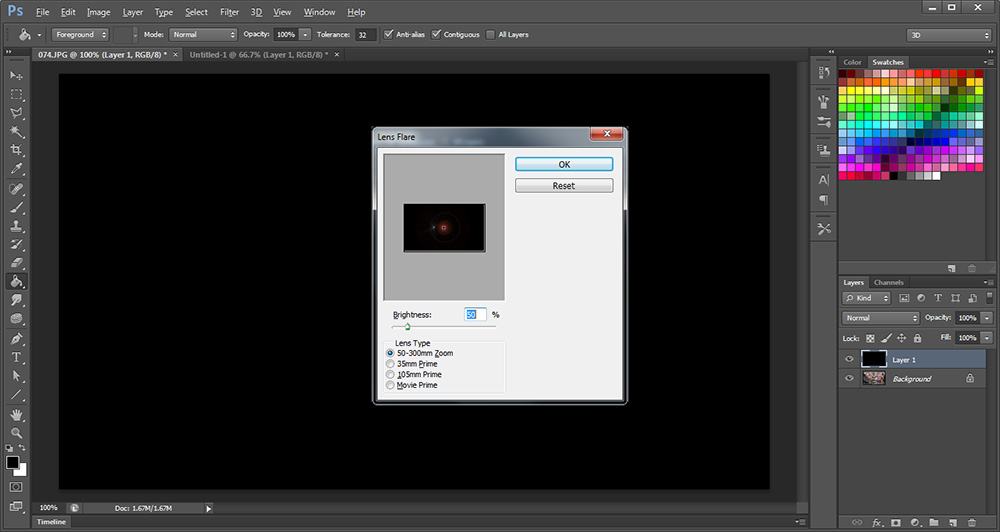
Now go to Filter > Render > Lens Flare
and pick the type of glow you want. I'm using the 50-300mm Zoom version at 50% brightness.
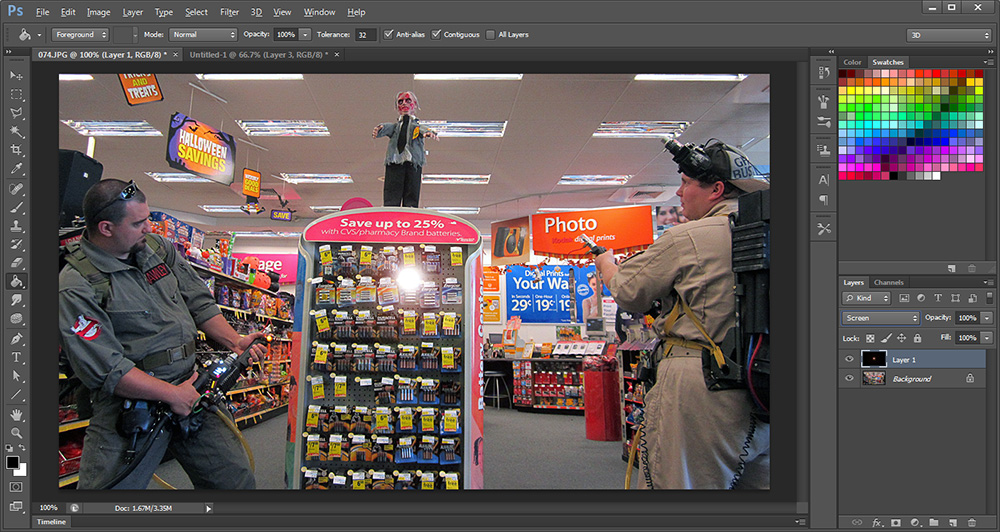
Now we need to move the glare into position over the tip of the proton gun and shrink it to fit. On the glare layer select Screen from the blending options drop down menu.
Go to Edit > Transform > Scale and resize the glare accordingly while holding Shift (which keeps the selected item proportionate).
Now
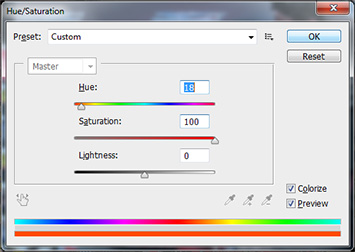
let's give it some color. Got to Image > Adjustments > Hue/Saturation and click Colorize in the lower right. I took the Saturation slider all the way up and then moved the Hue slider until I found a nice red/orange. You can always adjust this again later to get the color just right after you've added the beams.
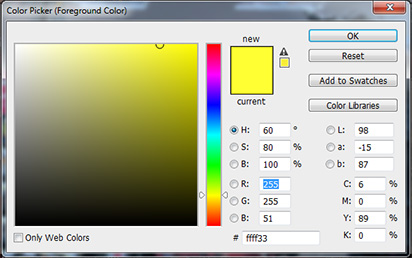
Next we'll add the yellow proton stream using the Brush Tool. Select a nice hue of yellow to use. Here I'm using one I like from the color swatches (#FFFF33).
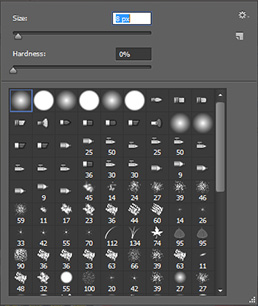
Now select the Brush
Tool and right click on the image to access the brush options. I'm using a Soft Round brush at 8 pixels. Your brush size will depend on the scale of your image. I usually gauge it by estimating twice the width of the proton gun's barrel in the photo.
Create a new layer and draw in your proton stream. Go slow and add the curvature gradually. This may take a few tries to get it how you like it. The Undo function is your friend (Ctrl+Z).
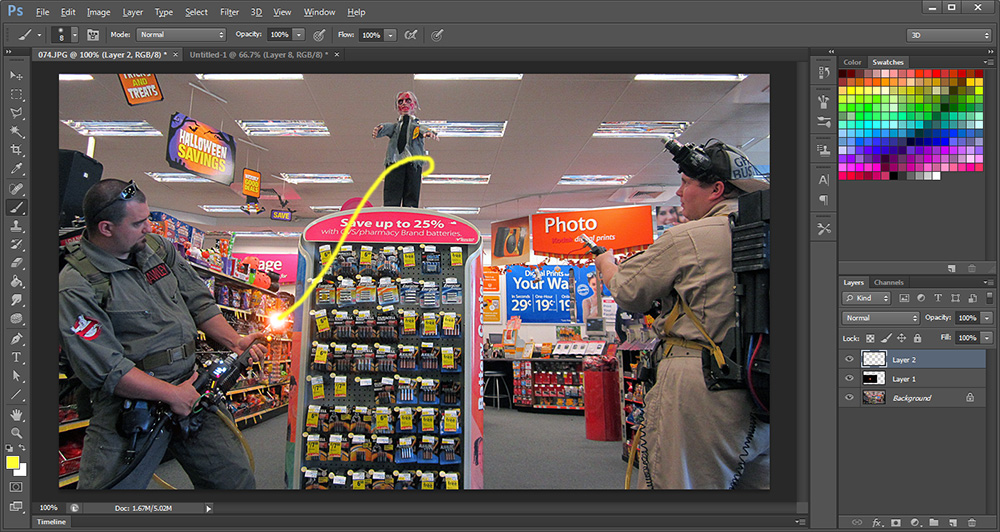
I usually add a second loop when my stream is lassoing an object and there is room for it.
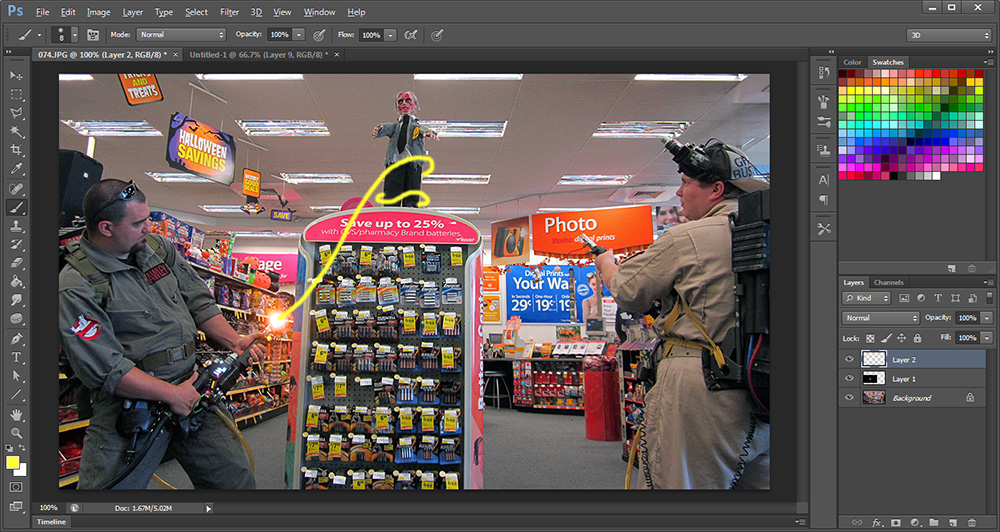
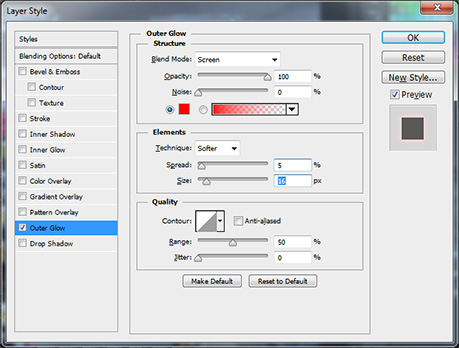
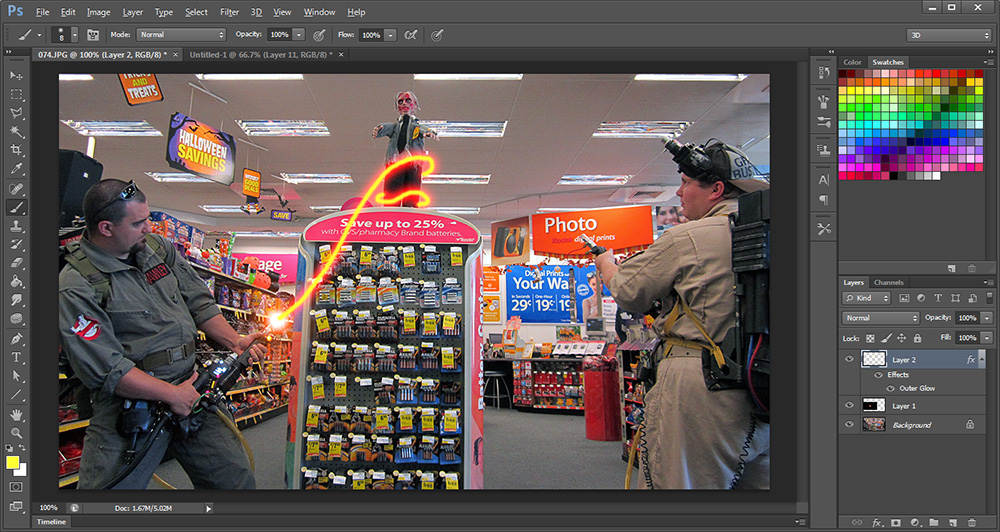
Now we add the red glow to the stream. Go to Layer > Layer Style > Outer Glow. Set the opactiy to maximum and choose a nice shade of red. I'm using pure red (#FF0000). Use the Size and Spread sliders to get the width and intensity of the glow appropriate.
You ought to end up with something like this. Notice the yellow stream is coming from the middle of the lens flare. If you don't like this look you can take your Eraser Tool and just clip it back to the edge of the glare as I did in the next step.
Now we're going to add the electricty that arcs around the stream. Select the Pencil Tool (under the Brush Tool) and right click to access the properties. For this scale I'm going to start with a 3 pixel brush for the initial branches of electricity. Use white as your color (#FFFFFF).
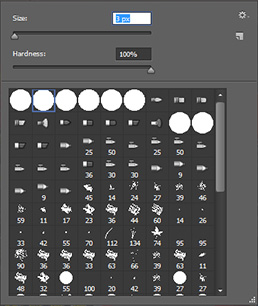
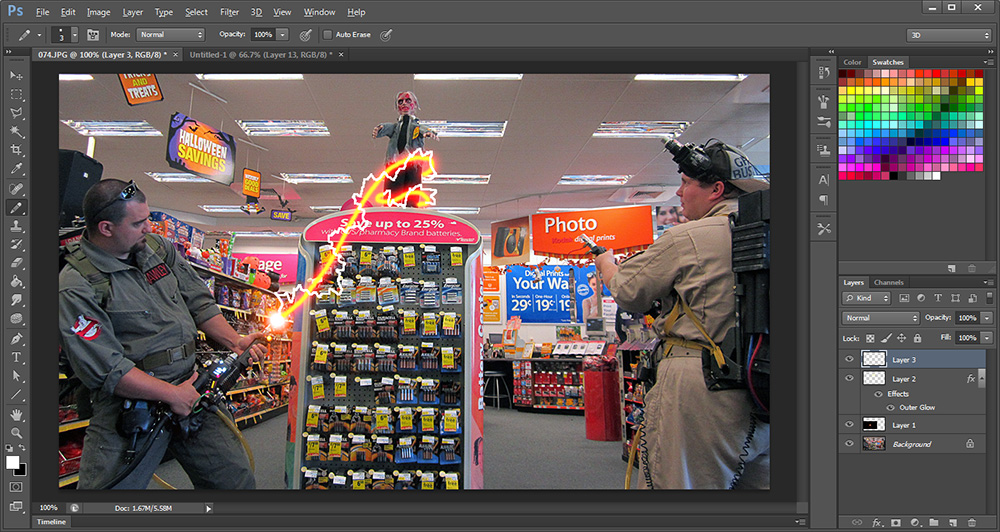
Create a new layer and zig and zag your Pencil Tool around the yellow stream. Think of it in 3 dimensions. The electricity is leaving the barrel and twisting around the stream as it flows. We'll make it more 3 dimensional in a few steps.
We're going to make a few more branches at a smaller scale. Right click your Pencil Tool again and in the properties select a 1 pixel brush.
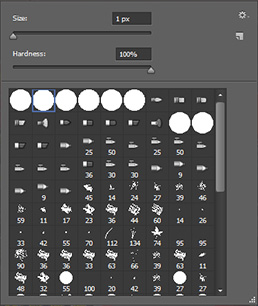
Go back over your
electricty with the smaller brush, following it roughly but also branching randomly.
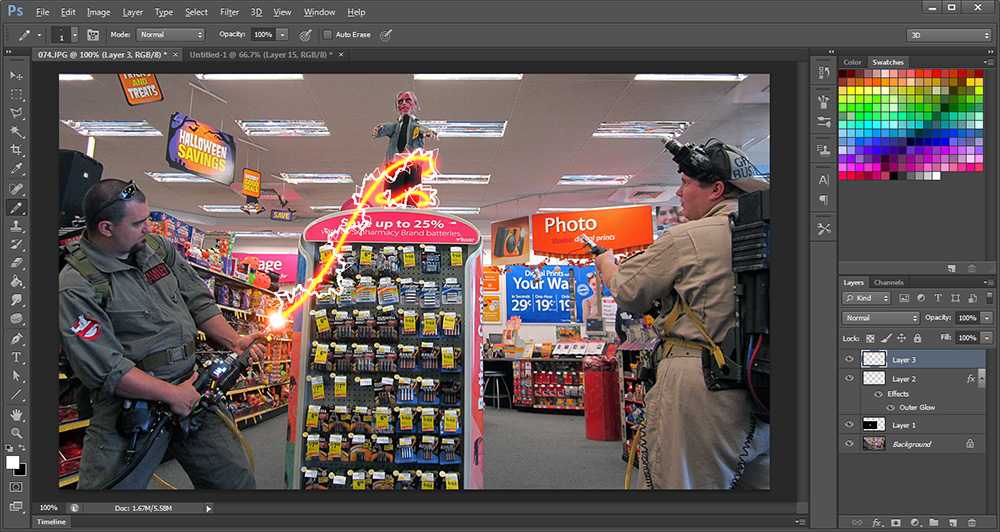
Once you're satisified with the arcing, go to Filter > Distort > Ripple. Gauging how to apply this filter will depend on the scale of the beam and make take some trial and error. Typically, I apply this first with size Small in 100% scale:
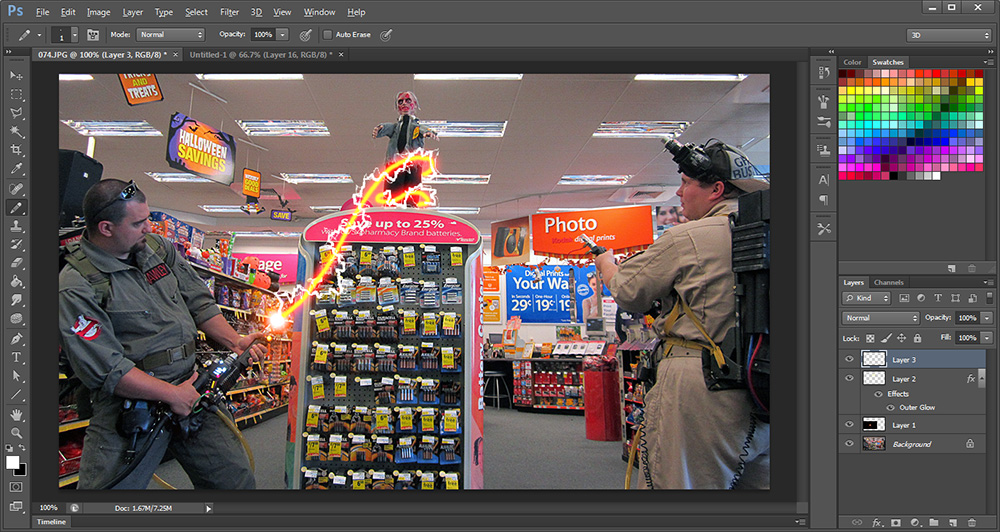
Then repeat this step but with size Large in 100% scale:
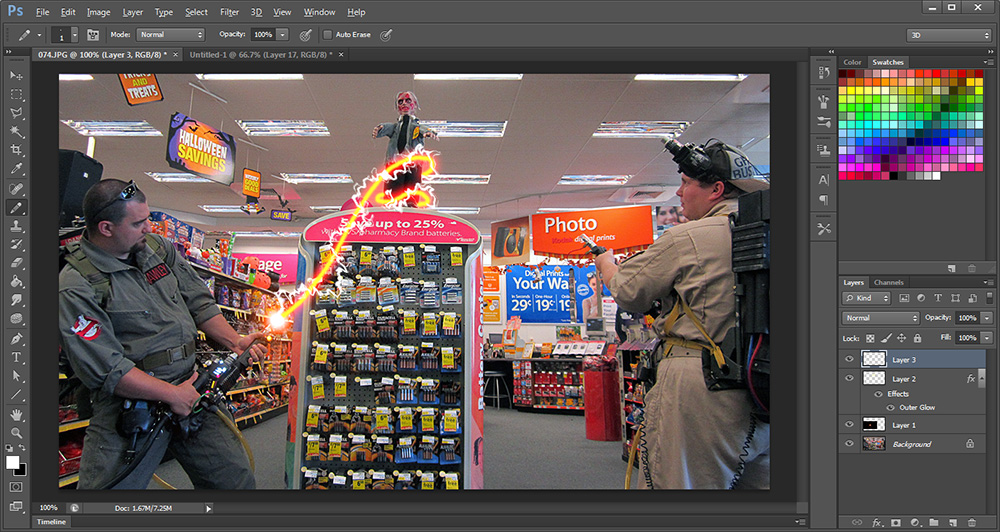
Once you have gotten the Ripple filter down to your liking, it's time to make it glow.
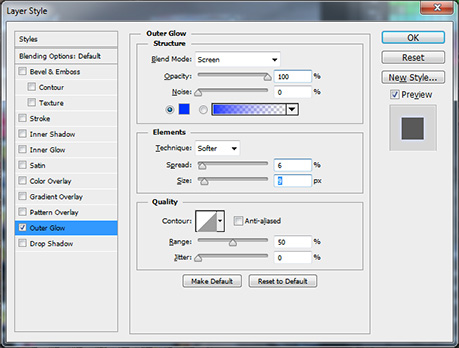
Go to Layer > Layer Style > Outer Glow. Set the opactiy to 100% and select a blue hue that will show up well against your background. I'm using #0033FF. Use the Spread and Size sliders to get the glow tighter to the white branches but with a smooth glow.
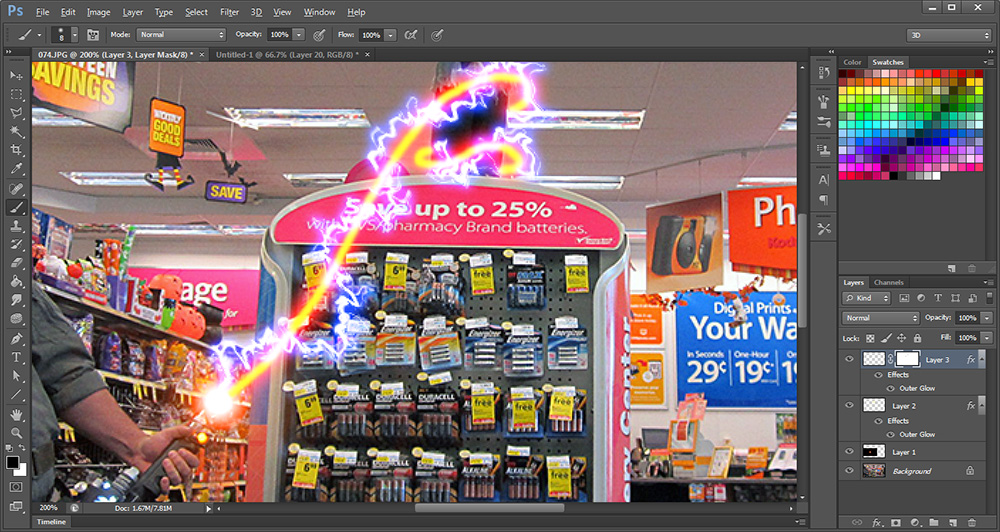
It ought to end up looking like this. But now it's time to make it look more like it's twisting around the yellow stream and not just sitting on top.

Add a Layer Mask to your electricty layer and use the Brush Tool to hide part of the electricity. Chances are your brush is still set to your original size you used for the yellow stream which should be appropriate. Here I hid the electricity every other time it passes over the yellow stream which helps to make it look like it's wrapping around as it travels.
Now to add some sparks to the end of the proton gun. Select your Brush Tool and right click to open the properties. Choose from the Splatter Brushes that should come with Photoshop (although you may need to load them if you don't see them). Select one that has the amount of sparks you want and then change its size at the top to scale it to fit your proton gun. The brush I choose here is already at the size I need.
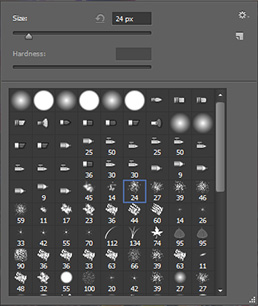
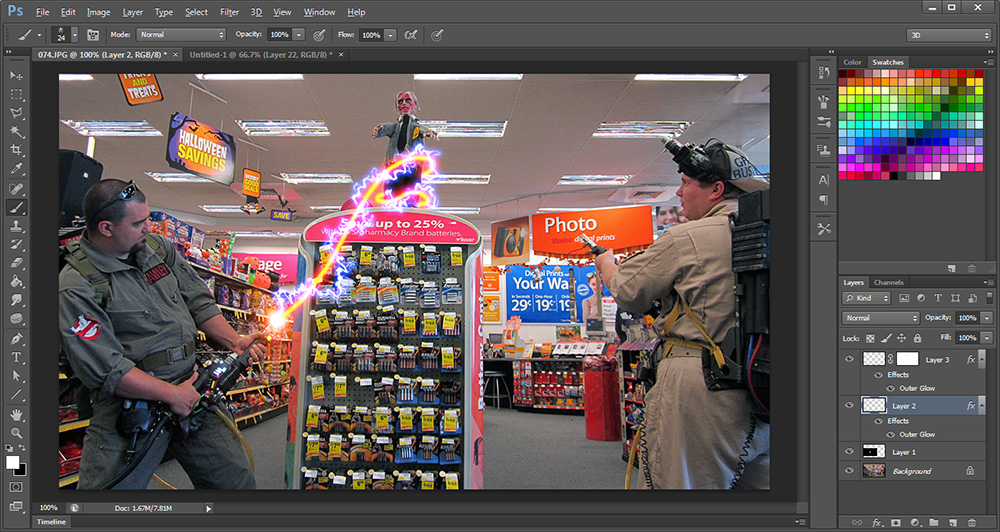
Go back to the proton stream layer (probably Layer 2 unless you named them) and just hit the brush right under the tip of the gun. This should add some of the glow effect from the layer to the sparks.
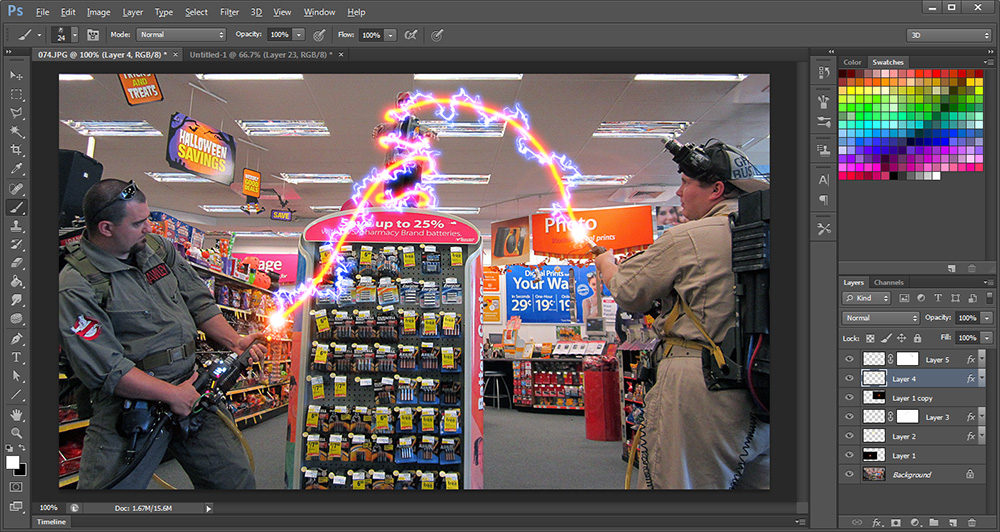
I repeated these steps to give Jeremy some of the action and also to demonstrate an extra optional step.
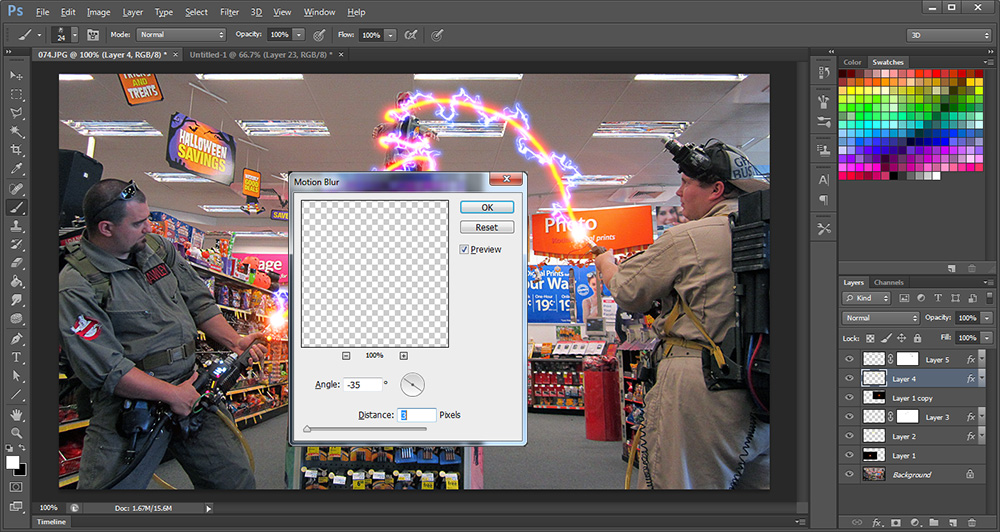
Here I'm going to add a motion blur to the electricty layer to simulate movement. Go to Filter > Blur > Motion Blur. Get the angle close to the flow of the proton stream and select a short distance. Here I'm using just a 3 pixel distance because the distortion should be subtle.
Here's is the final result. As you can see, Jeremy's stream on the right looks like it has more movement than mine on the left. So it will come down to your personal preference when deciding whether to apply a blur.
