Ghostbuster Uniform
Leg Hose Connector Build Guide
This guide is a step-by-step walkthrough of the process I used to create my leg hose connectors for the Ghostbuster uniform. They are not intended to be a 100% accurate reproduction. The original connectors were sewn onto the actor's uniforms and I just did not find this very practical to do for cosplay so I developed a connector that can be attached to the flightsuit with a cap that screws on for easy removal. All of the pieces I use for this build can be found at hardware stores such as Lowes, Home Depot, and ACE Hardware, but you may have to make some adjustments depending on the stores in your area and the availability of parts.
If you have any questions or suggestion please email me:
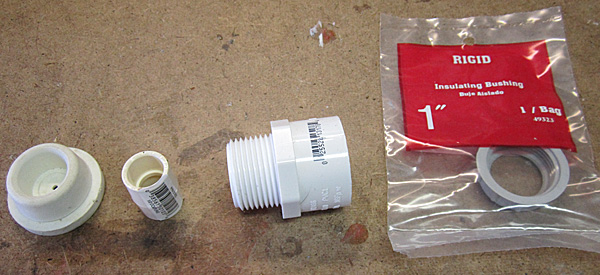 |
Here are our materials from left to right:
- White Rubber Doorstop
- 1/2 Inch CPVC Coupling
- 1 Inch Threaded/Slip PVC Coupling
- 1 Inch Insulating Bushing |
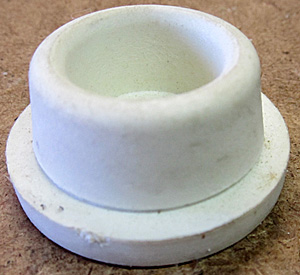
| * White Rubber Doorstop - The one I'm using is a generic version from a local dollar store. Most hardware stores carry these in either white or gray. Getting one in gray is a good idea if you are concerned about the paint we will put on later wearing off with use. However, I found the shiny gray doorstops I got from ACE were harder to paint. |
 |
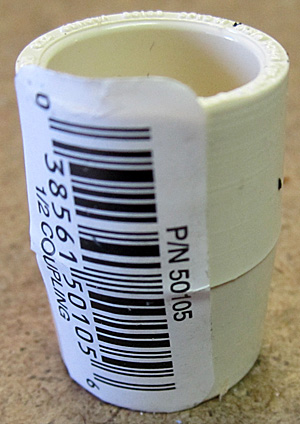 |
* 1/2 CPVC Coupling - You can find these at Lowes & Home Depot & ACE. The 1/2 inch size should fit a standard 1/2 vinyl leg hose which most people use on their GB uniforms. The brand of coupling I'm using has a slight taper to it at the top and bottom which makes it easier to slide into the doorstop. |
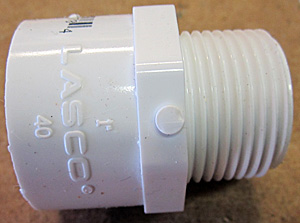
| * 1 Inch Threaded / Slip PVC Coupling - The one in the picture I get from Lowes but you may also find them at ACE. The style at Home Depot has more of a bell shape and I don't like them. However, for the sake of this guide we are only going to use the threading so the rest of the coupling is just leftovers. |
 |
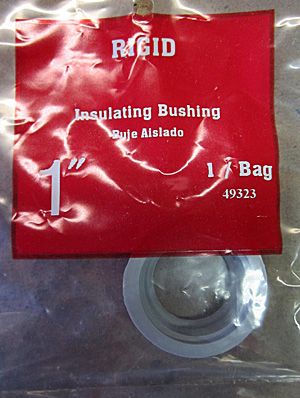 |
* 1 Inch Insulating Bushing - Lowes sells these individually whereas Home Depot has them 2 to a bag. We're going to use these as a cap to the threading on the leg hose connector. |
First we'll start with the doorstop. Mine had a circle of foam tape on the bottom that left a residue when peeled off. So I skimmed it over the belt sander to get rid of most of it, then used the Dremel with a sanding disk to make the surface nice and clean.
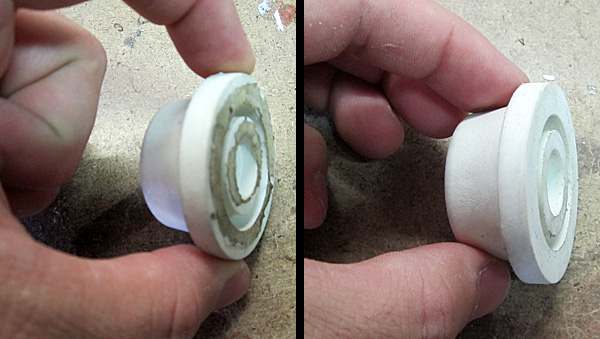
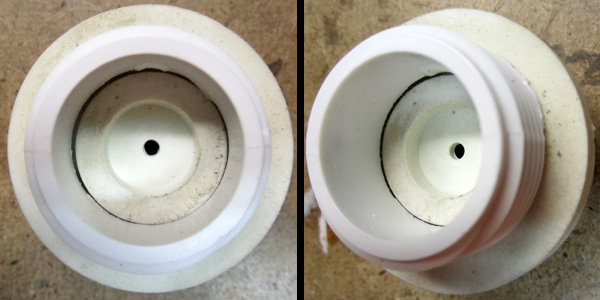
As you can see there is a trench under the rim of the doorstop which is where we want to insert the threading. However, this trench is just slightly too narrow for the threading so we need to measure and widen it. |
 |
 |
First we'll see how deep we can take the threading into the doorstop. Here I can see that the rim is just less than 1/4 of an inch deep. |
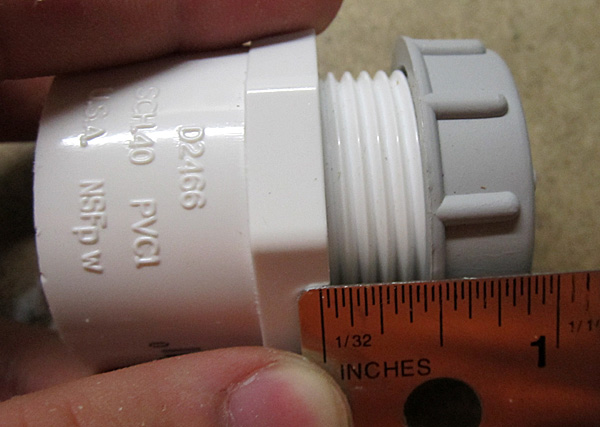
| Now screw the bushing down onto the threading of the coupler. We're going to measure out about 1/4 of an inch from the bottom of the bushing. You can see that it lines up right with one of the recessed lines in the threading. Mark that line with a marker because that's where we want to cut. |
 |
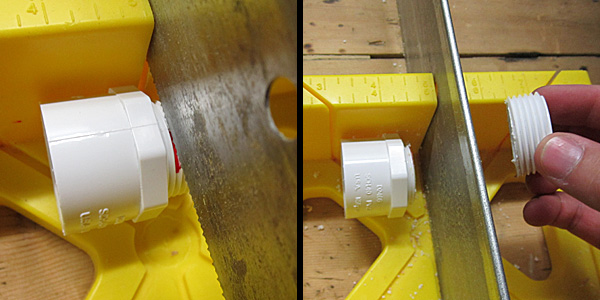 |
Drop the coupling in your miter box and cut off the threading. |
| Now we take the threading and put it over the trench on the bottom of the doorstop and mark the area on the outside to see how far we need to widen it with our Dremel for the threading to fit inside. |
 |
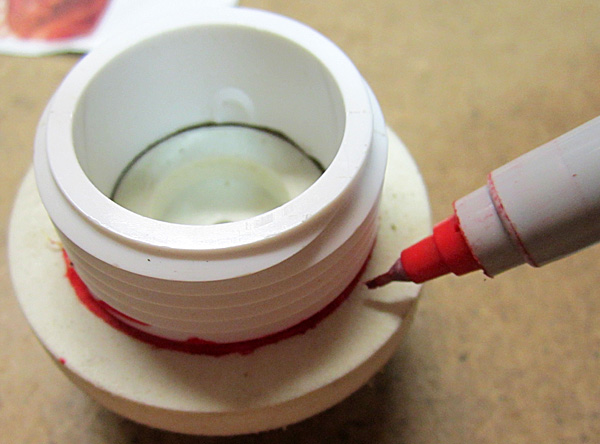 |
If your doorstop does not have the trench area just center the threading the best you can and mark along the inside and the outside of the threading. |
| Take your Dremel and your cutting bit and see just how deep your bit will go. Here I can see that the bit I'm using is almost exactly the same depth of the doorstop's rim, so if I push the bit all the way in it will cut through the other side. Keep that in mind when cutting and pull that bit back a bit to avoid fixing mistakes later. |
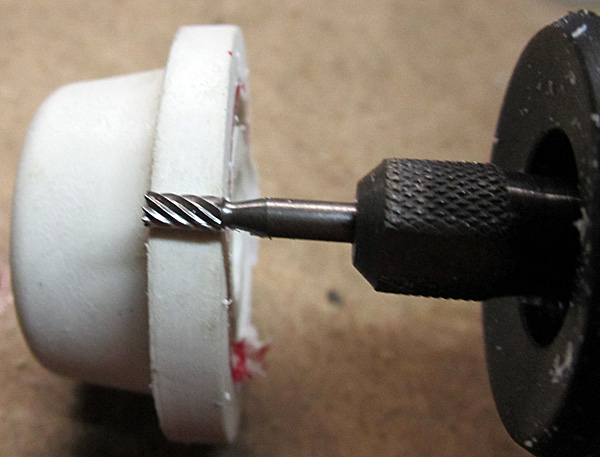 |
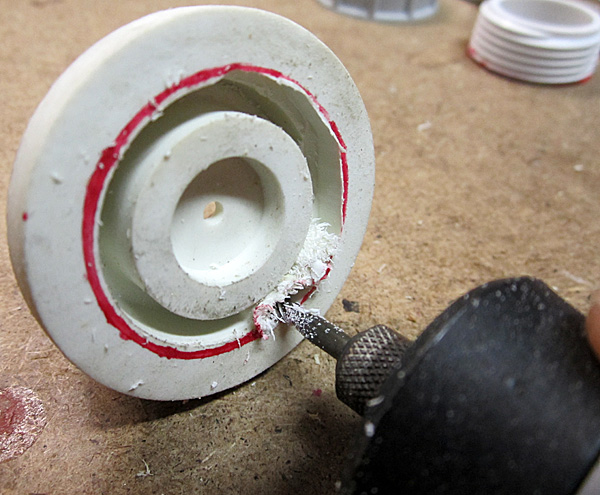 |
I'm using a Dremel 4000 on the lowest speed setting and trying to stay within my marked line. |
| You'll want to go slow and stop and test the fit with the threading. Taking out too little material is not a problem and you can just make another pass and remove more. Taking out too much material and your threading fits in loosely and you will have to use more glue for a secure hold. |
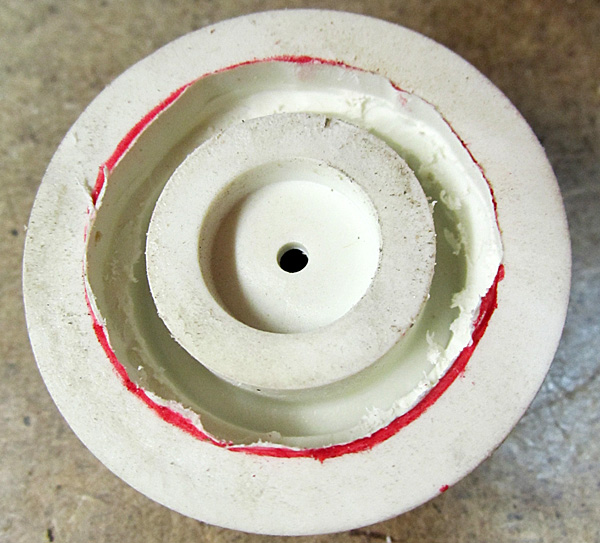 |
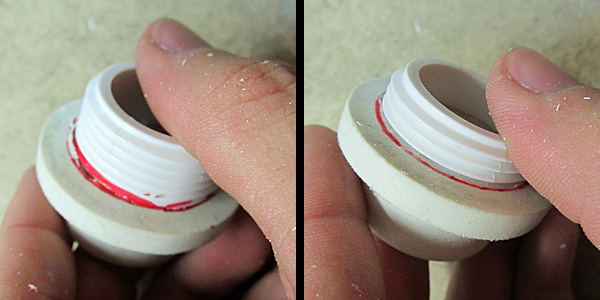 |
What we're aiming for is a nice snug fit where you can push the threading straight into place. If you want to make the fit a bit more snug you can counter-screw in the threading for a better hold, but this is harder to do. |
| With the threading in I also put on the cap to make sure I have enough threading sticking out for a good hold on the uniform. Now that I'm satisfied with the fit it's time to glue. |
 |
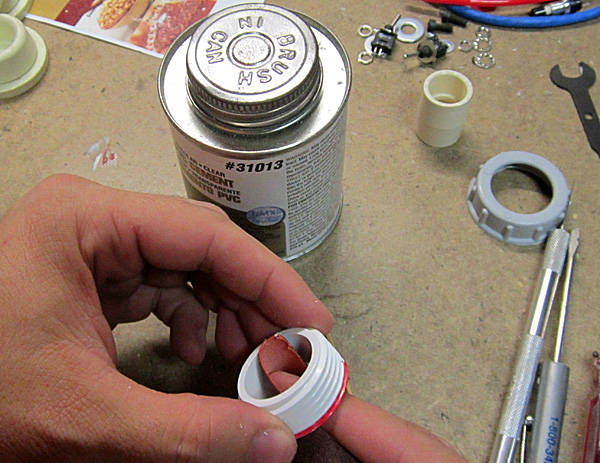 |
You'll want to trim off any hanging material with sandpaper or an exacto knife and get rid of any loose material inside the doorstop with a brush. To prep the surfaces for the best hold, sand the area inside the threading. |
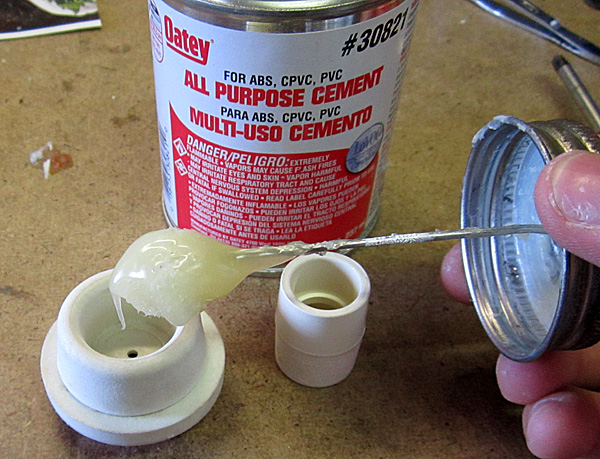
The best kind of adhesive to use is PVC cement. I use Oatey's brand which is found at Lowes, Home Depot, etc. In the picture I'm using regular PVC Cement which works just fine, but in later pictures I will use All Purpose Cement which I prefer. Either one will work fine for this build though.
Another possibility is epoxy but it's not as easy to use since it must be mixed before applying and the PVC cement is ready to go out of the can. Be aware that the fumes that come out of the can are pretty toxic so wear a respirator and/or work in a ventilated environment. |
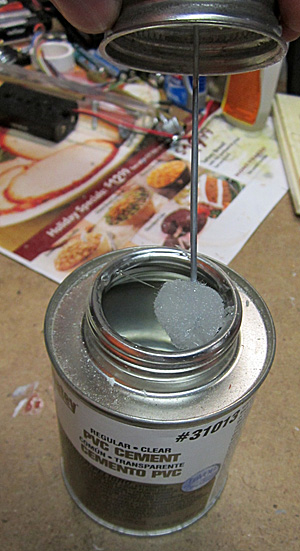 |
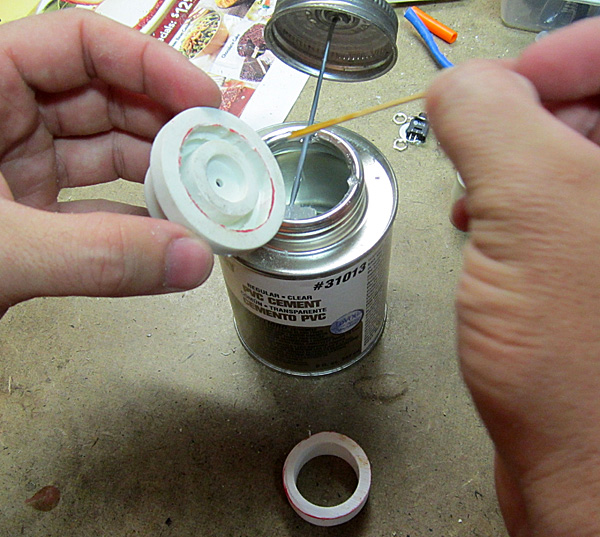 |
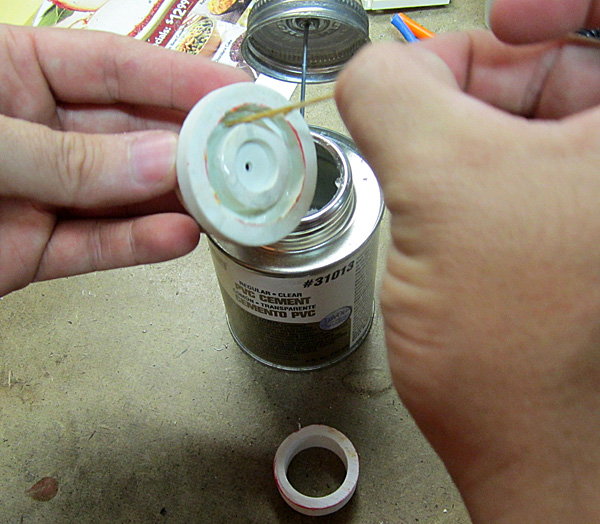
The cement applicator inside the lid is way too big to fit in our doorstop so I use a toothpick to scoop up the cement and goop it into the doorstop. This is probably not the best possibly thing to use for this but it's cheap and disposable. Work quickly because you don't have a great deal of time once the cement hits the air but be careful not to get too much excess glue all over the doorstop. |
| You want to apply glue to both side of the trench we cut. |
 |
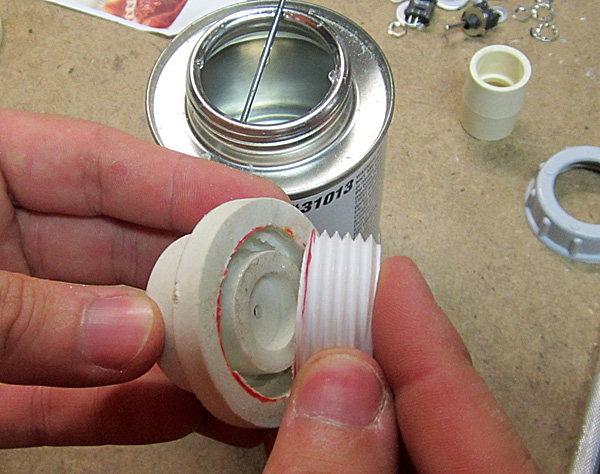 |
Now push the threading into the trench all the way. |
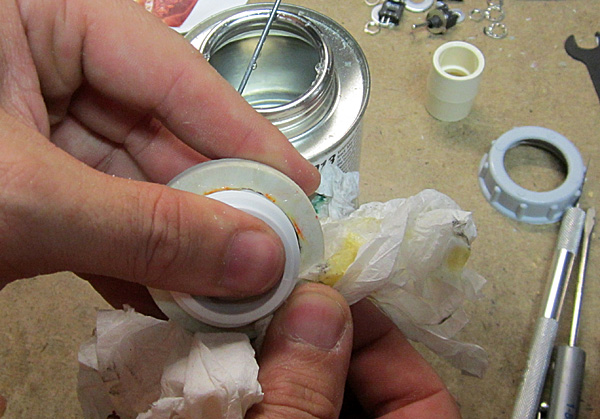
| Wipe off any excess glue along the edge and remember to close your can of cement :D |
 |
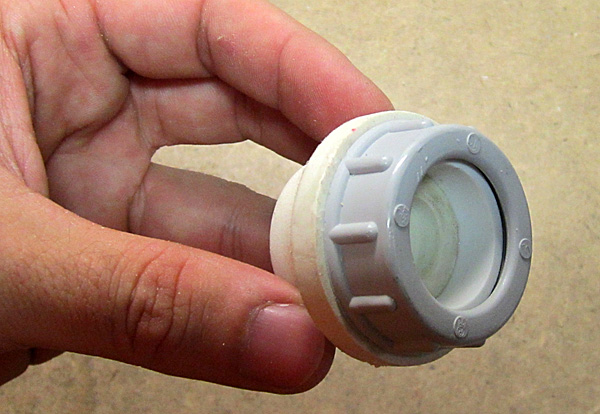 |
With the threading in place and the glue cleaned up you can use the cap to help level out the threading by screwing it on carefully. I would take it back off while the glue sets as you don't want to accidentally glue on the cap incase some glue escaped. |
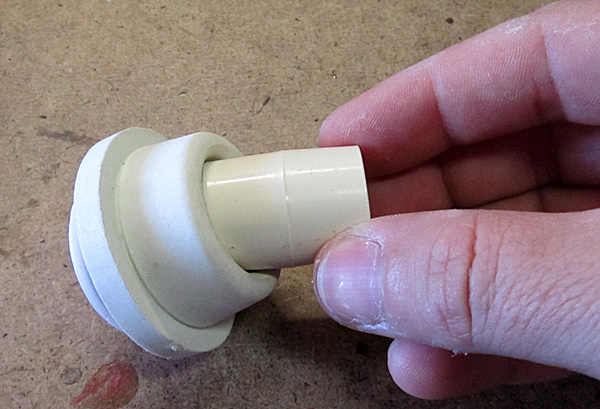
| Once the cement has set long enough that it's ready to be handled we can start working on the other end of our leg hose connector. Get the 1/2 inch CPVC coupling and test fit it into the doorstop. In most cases I found that the coupling was just barely too big to fit inside so I had to sand a bit to get it to slide inside. In this case, the coupling went in a bit too loose and I needed to use a good layer of glue for a proper hold. |
 |
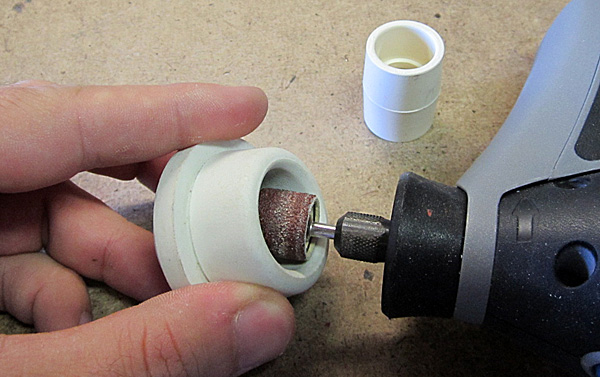 |
If you need to widen the opening, use a sanding drum on your Dremel and make a few passes, test fitting in between. |
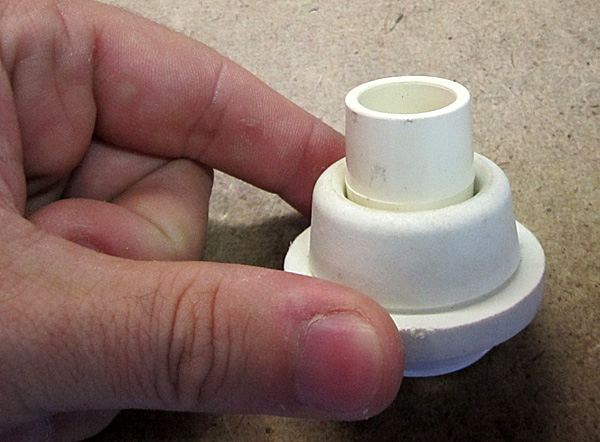
| Once you have that nice snug fit, determine which end of the coupling you're going to push inside. The couplings I use have embossed writing on one end so that's the end I push into the doorstop so I don't have to grind it off later. |
 |
 |
Be sure to clean the doorstop of loose material and sand the half of the coupling that is going into the doorstop for the best hold. |
| Here I'm using Oatey's All Purpose Cement and in this case the applicator is just the right size to fit inside the doorstop. Just take some glue, twist it around inside leaving a layer on the walls inside the doorstop. |
 |
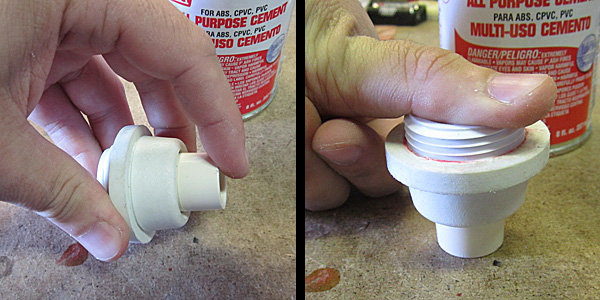 |
Now take the coupling and push it inside the doorstop all the way. It may help to flip the doorstop over and press down from the bottom to get the coupling inside if your fit is too snug, but the glue usually acts as a lubricant and lets it slip inside easily. |
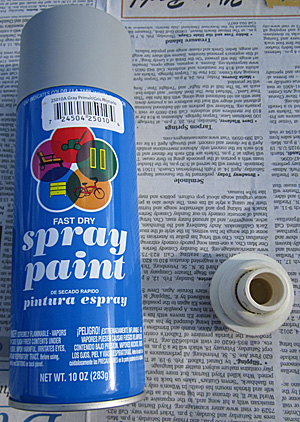
| Once the glue has set long enough for us to handle our connector, it's time to take it outside and paint. I use the generic Color Place primer found at Wal-Mart. It's cheap but effective and goes on smoothly. Before painting be sure the surface of your connector is clean and you may want to sand the exposed area of CPVC for the paint to take a better hold. |
 |
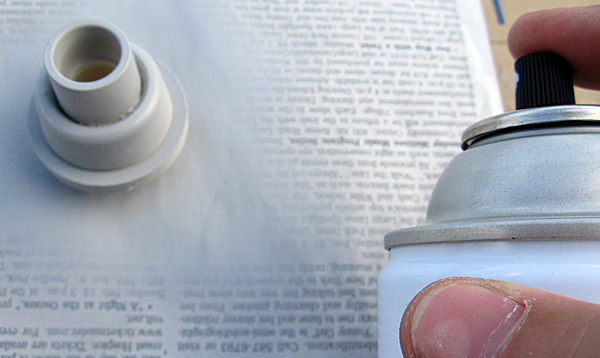 |
Standard spray painting techniques apply here: Hold the can 6-8 inches away, start and stop off of the object spraying in passes, etc. It's best not to try to paint the entire thing at once but the lay on a layer, wait a while, flip the piece on its side and do another layer, and so on. Once thing you will find is that it's almost impossible to get inside the crevices so we'll deal with that next. |
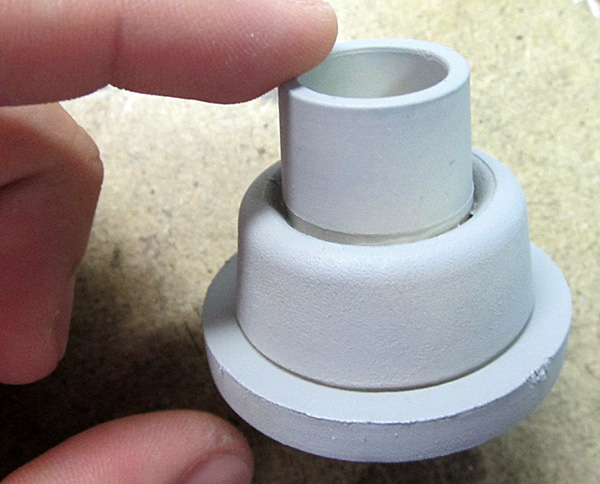
| Here's where we end up after several passes of spray paint. If you want to stop here that's fine, but I can see that just inside the crevices that are unpainted areas. And even though the color is fine, it's a little too light for my tastes so I'm going to darken it a bit. |
 |
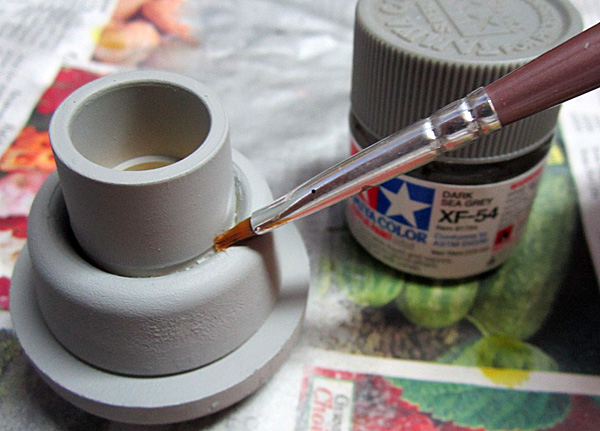 |
If you do not have an airbrush then you can use a regular paint brush and take some gray paint (preferably darker than the primer color) and paint in the cracks the spray paint couldn't get to. This is just to shade the corners of the connector so there is no unpainted area. Once they are painted, take the connector back outside and do another pass of spray paint. This will blend the shadowed areas back to the intended gray. |
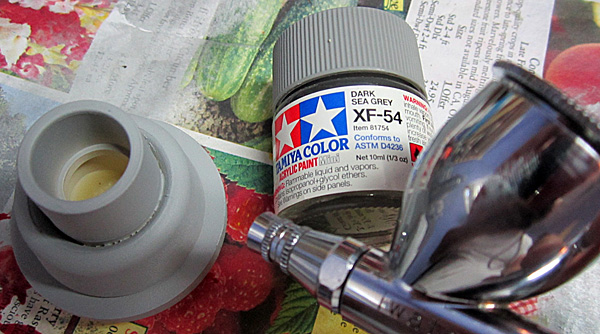
| I have an airbrush though and I'm going to spray in the areas the spray paint can missed earlier, as well as putting on a new layer of gray darker than the primer. In this case I prefer Dark Sea Gray by Tamiya, thinned slightly to use in the airbrush. |
 |
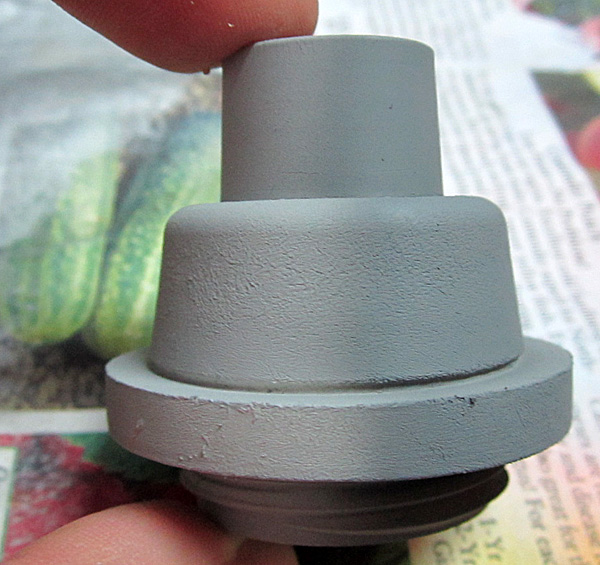 |
In this picture you can see the difference between the primered side (left) and the airbrushed side (right). What color gray you use for your connector is your own personal preference and there are no shortage of grays in the world. |
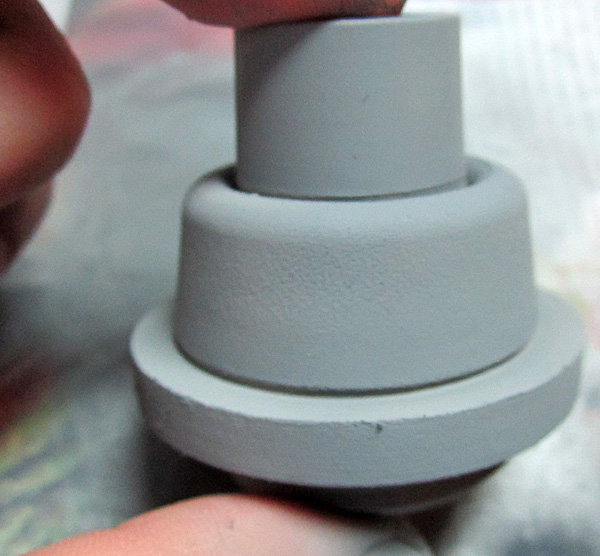
Here is the finished connector. You may want to apply a layer of sealer to your paint job to help prevent paint wear since this thing is going to get knocked into a lot hanging from your Ghostbuster uniform. I don't use a sealer because I like my connectors to wear down after a while for the "battle damaged" look.
Hope you enjoyed the guide and good luck on your build! |
 |
|
|