Star Wars "Gonk" Power Droid
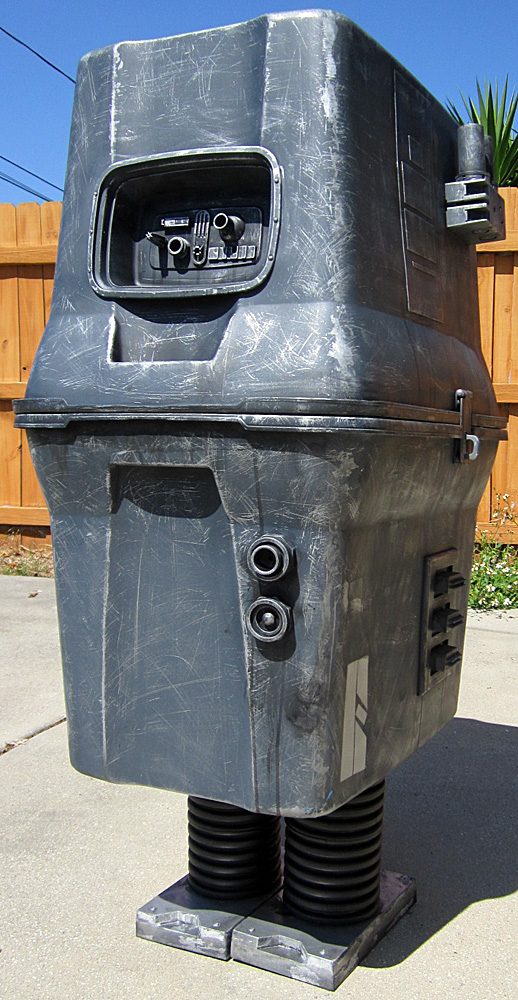
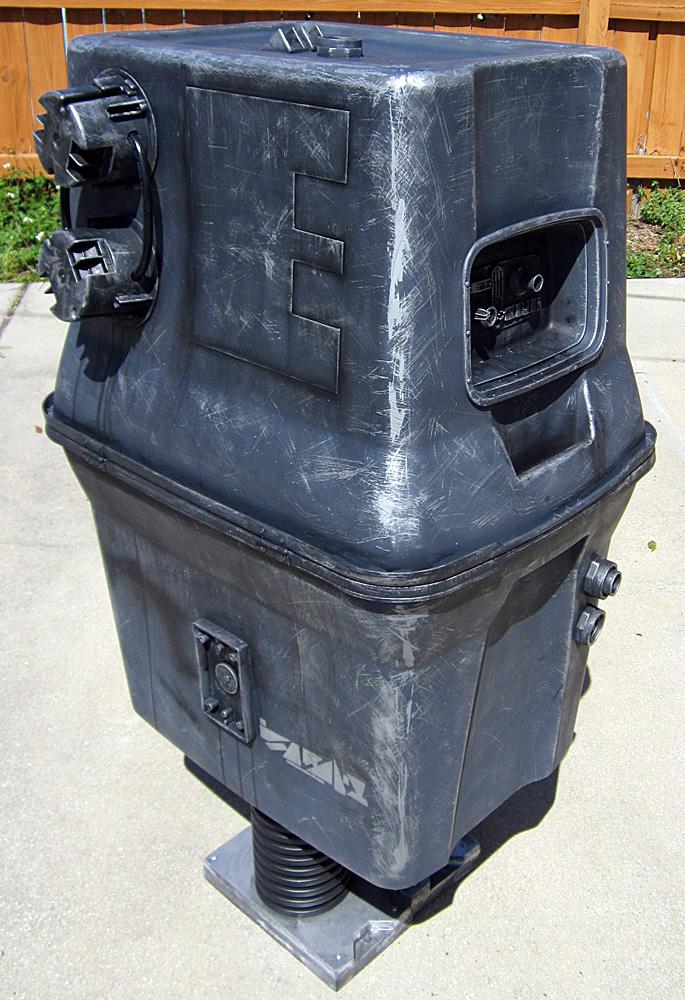
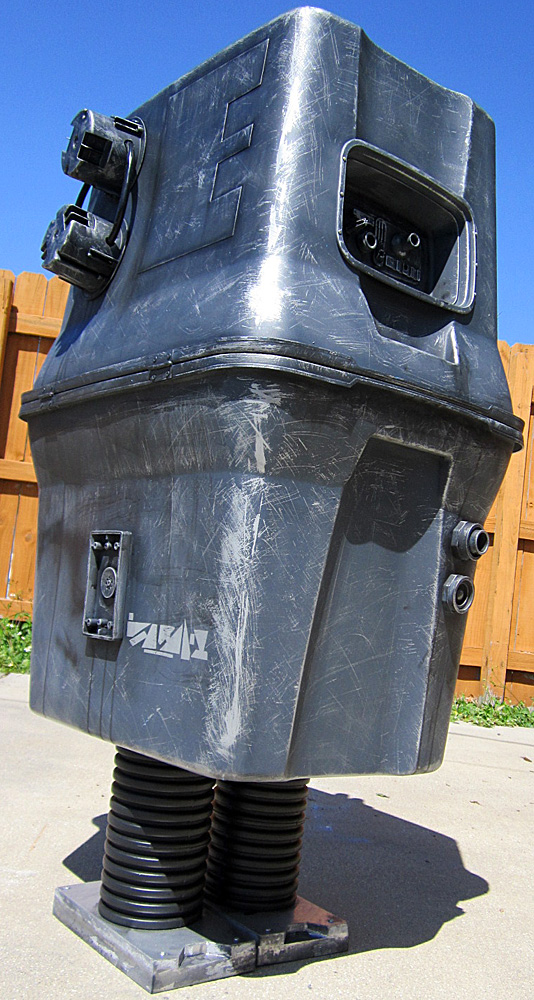
I knew I surely wasn't the only one who has taken two large tupperware containers and stacked them together to see how close it would look like to a power droid in the middle of the aisle in Wal-Mart. I found containers I thought would work well for what I wanted and came home to do a search on custom power droids, and of course, I am not the only one who had that idea. However, most of the droids I've seen, while done well, are also mostly functionless display pieces. I wanted a nice display piece for our table at conventions but it has to actually have some function, and the more the better. So I designed this droid to first be a storage unit with a hinged lip and a latch with a loop for a padlock. This means we can store our table setup in the droid at the end of the convention day and then lock it up for the night. There is a hole cut in the top to work as a change drop, and is large enough to fit a quarter, so the droid can be used to collect donations for fundraising. And last but not least, I added a few screws to mount an optional power strip on the back since, well, it's a power droid! We sometimes need several outlets at convetions and events and having that power strip on hand helps make sense of having a power droid in the first place.
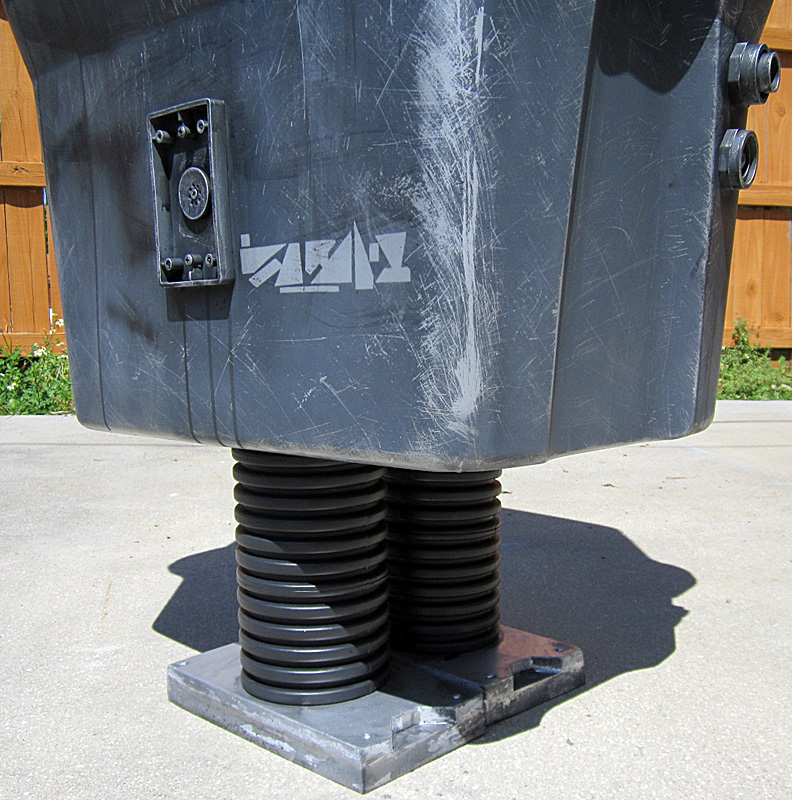
I also decided to try some new techniques with the paint job and subsequent weathering that would follow. For starters, I looked high and low for a suitable spray paint to match the color I had in mind and found nothing in stores, so I concocted by own paint mix. I started with black, white, and brown acrylics and built them into a heavy gray with a slightly muddy tint, then slowly added some pearlescent blue and purple until I reached the kind of metallic dark blue-gray I wanted. The result was more than pleasing and gives the droid a nice texture as well as a slight color distortion that is hard to capture on camera. You'll see in the photos that the shade seems to change slightly between shots which is just how the paint looks with the light hitting it at different angles. This mixture was airbrushed over a matte aluminum undercoat, and then scraped down to that undercoat with steel wool. I then went through steps of black washes, airbrushed burn marks, steel wool scratches, silver drybrushing, and repeated those steps in layers to give the weathering depth.
|
|